
In this post I will cover how to setup a Laravel Valet development environment on MacOS.
At the end of this post, we will have performed a basic setup of Laravel Valet and created a new Laravel site that we will be able to access on the local computer using HTTP. Before we get to that point, we will need to install some perquisites including Homebrew, PHP and Composer.
Table of Contents
- Step 1 – Installing Homebrew on MacOS
- Step 2 – Installing PHP on MacOS
- Step 3 – Installing Composer on MacOS
- Step 4 – Installing Laravel Valet
- Step 5 – Set dnsmasq to auto now and on reboots
- Step 6 – Installing laravel
- Step 7 – Creating and serving a site
- Step 8 – Start and Test
- Misc
- Putting you work live
Step 1 – Installing Homebrew on MacOS
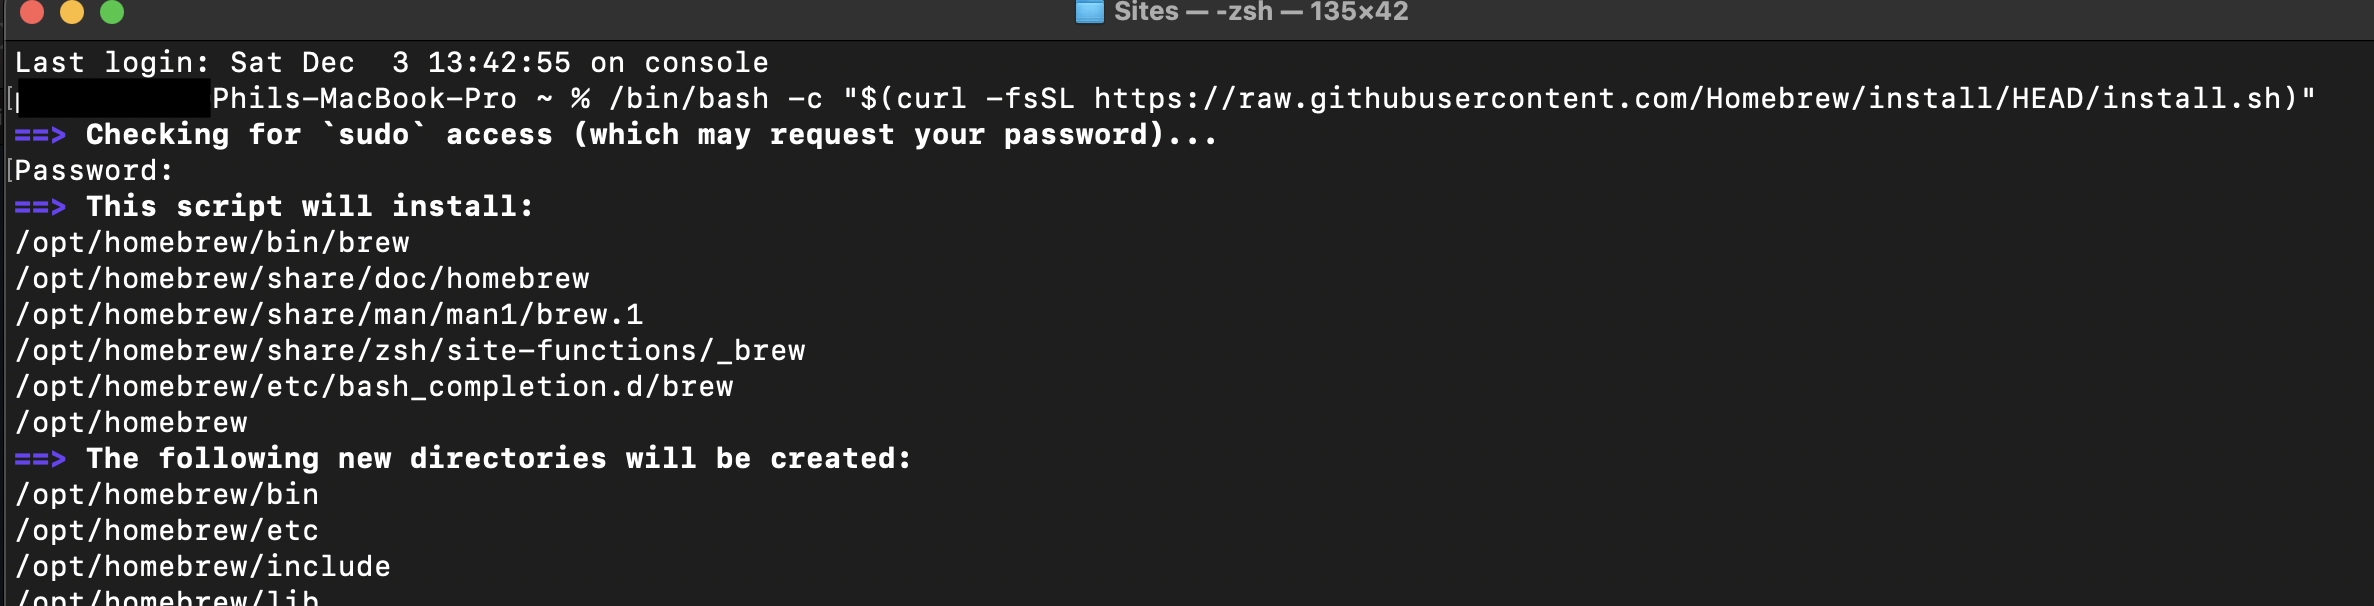
The first step we need to perform is to install the homebrew package manager for MacOS. We will be using Homebrew to install PHP in the next section.
Open a terminal window and run the following command.
/bin/bash -c "$(curl -fsSL https://raw.githubusercontent.com/Homebrew/install/HEAD/install.sh)
You can read up more on Homebrew and get the latest install command here https://brew.sh
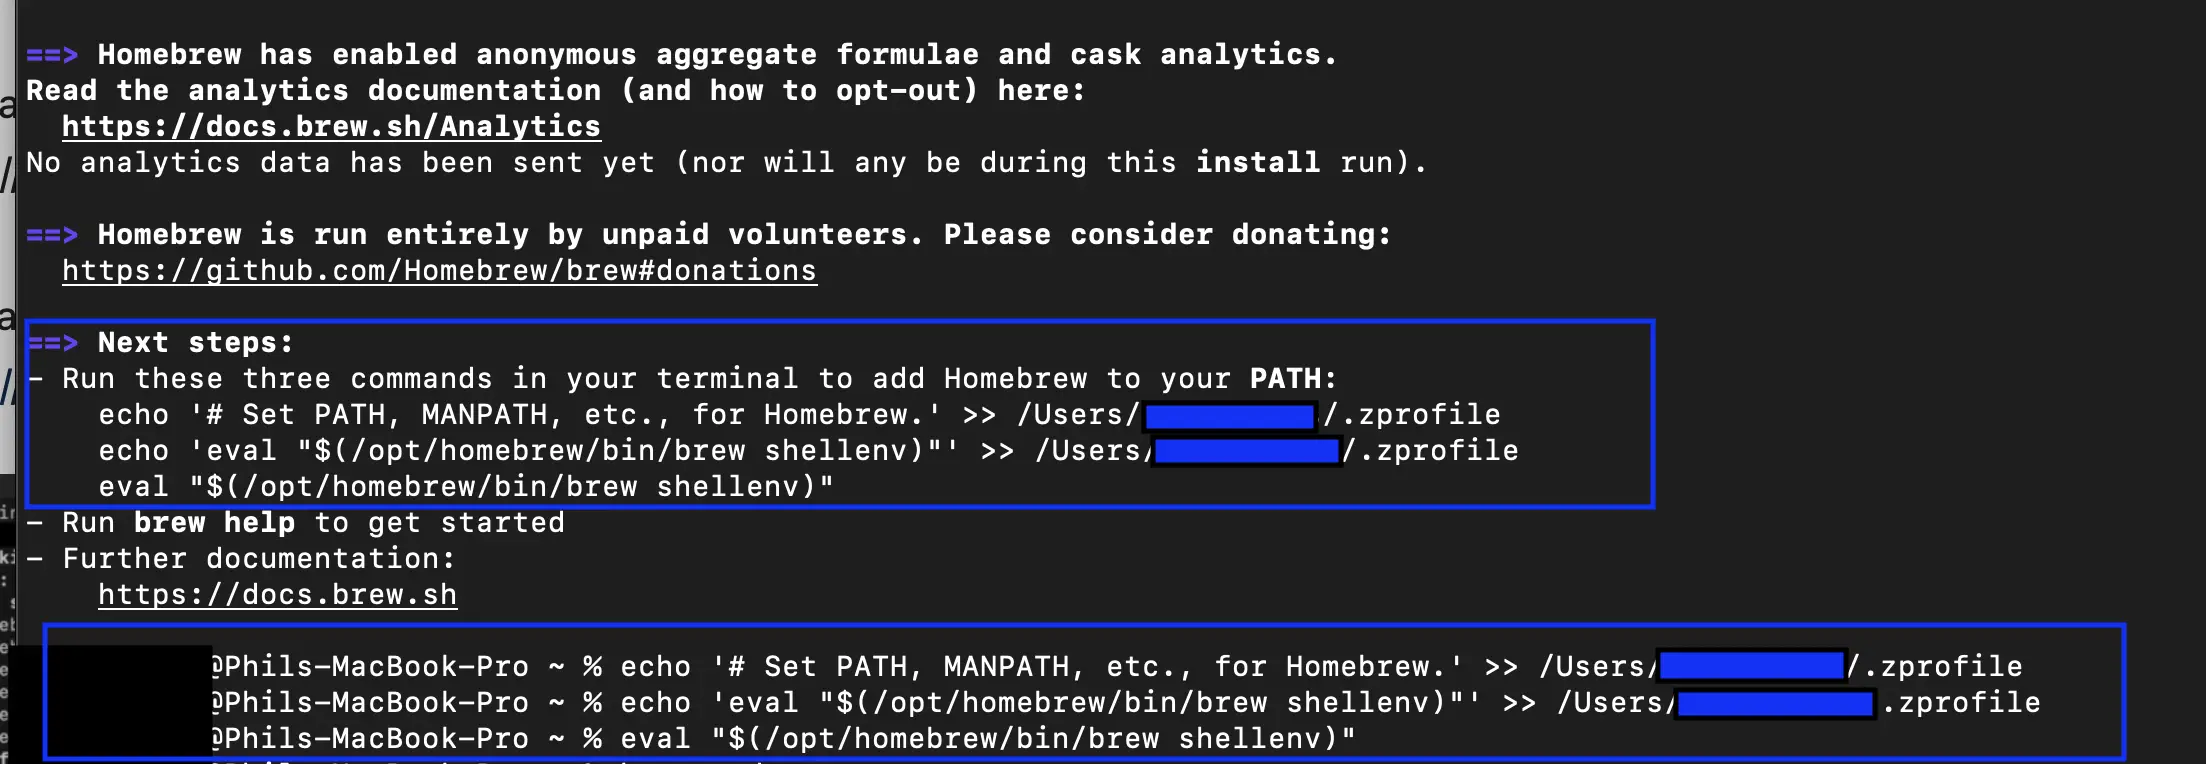
Homebrew will take a little while to install. At the end you will be prompted with a “Next steps” section. Copy and run each of the three commands in turn, this will add Homebrew to your PATH
Step 2 – Installing PHP on MacOS
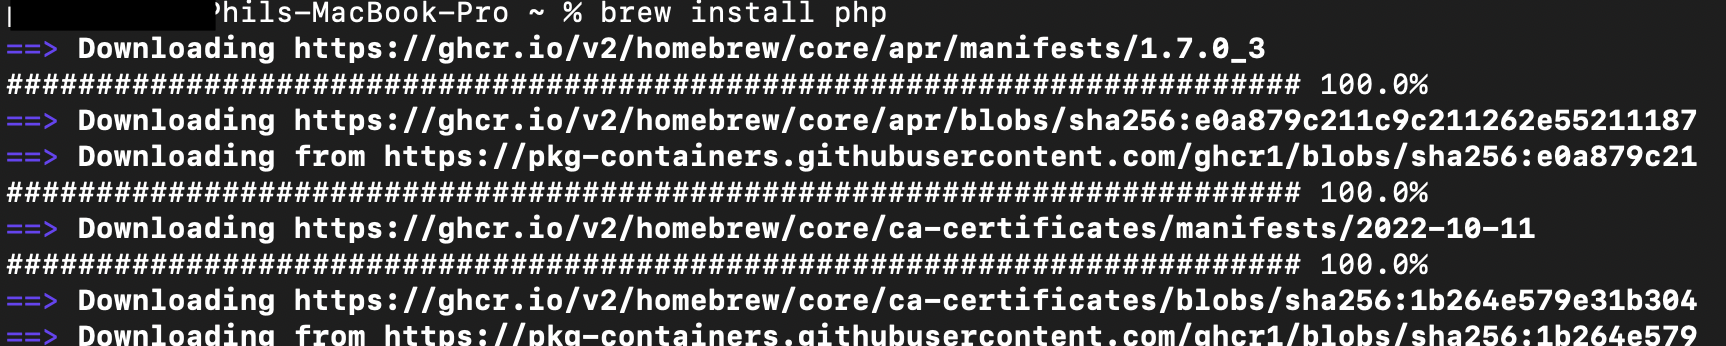
Next, we are going to use Homebrew to install PHP. In the same or new terminal window enter the command
brew install php
Wait for PHP to download and install
Step 3 – Installing Composer on MacOS
Now we are going to install the PHP dependency manager Composer. You can read up more on composer here and get the latest instal commands.
In the same or a new terminal window run each of these commands. These commands will download, verify, install, and remove the installer.
The last two commands will move composer and add it to your PATH so it is global and can be run from anywhere.
php -r "copy('https://getcomposer.org/installer', 'composer-setup.php');"

php -r "if (hash_file('sha384', 'composer-setup.php') === '55ce33d7678c5a611085589f1f3ddf8b3c52d662cd01d4ba75c0ee0459970c2200a51f492d557530c71c15d8dba01eae') { echo 'Installer verified'; } else { echo 'Installer corrupt'; unlink('composer-setup.php'); } echo PHP_EOL;"

php composer-setup.php

php -r "unlink('composer-setup.php');"

sudo mv composer.phar /usr/local/bin/composer

PATH=$PATH:~/.composer/vendor/bin

Step 4 – Installing Laravel Valet
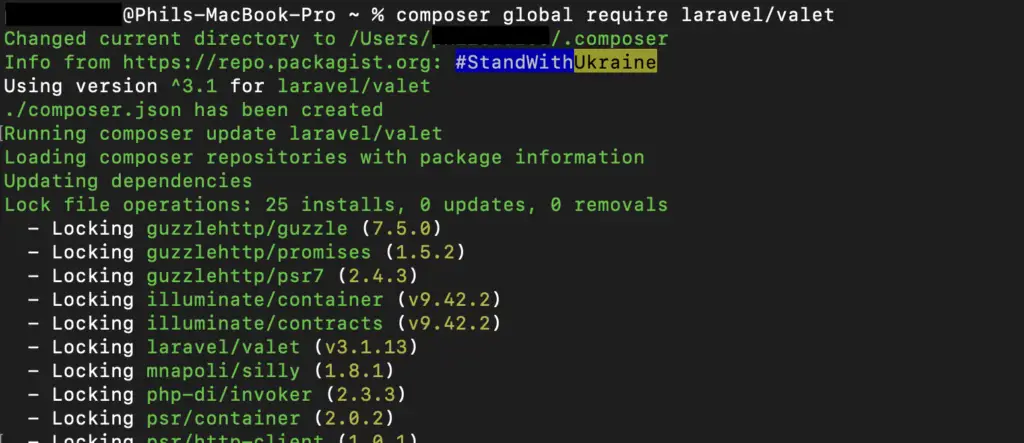
Now we are ready to install Laravel Valet as a global Composer package.
composer global require laravel/valet
Next to install Valet
valet install

Step 5 – Set dnsmasq to auto now and on reboots
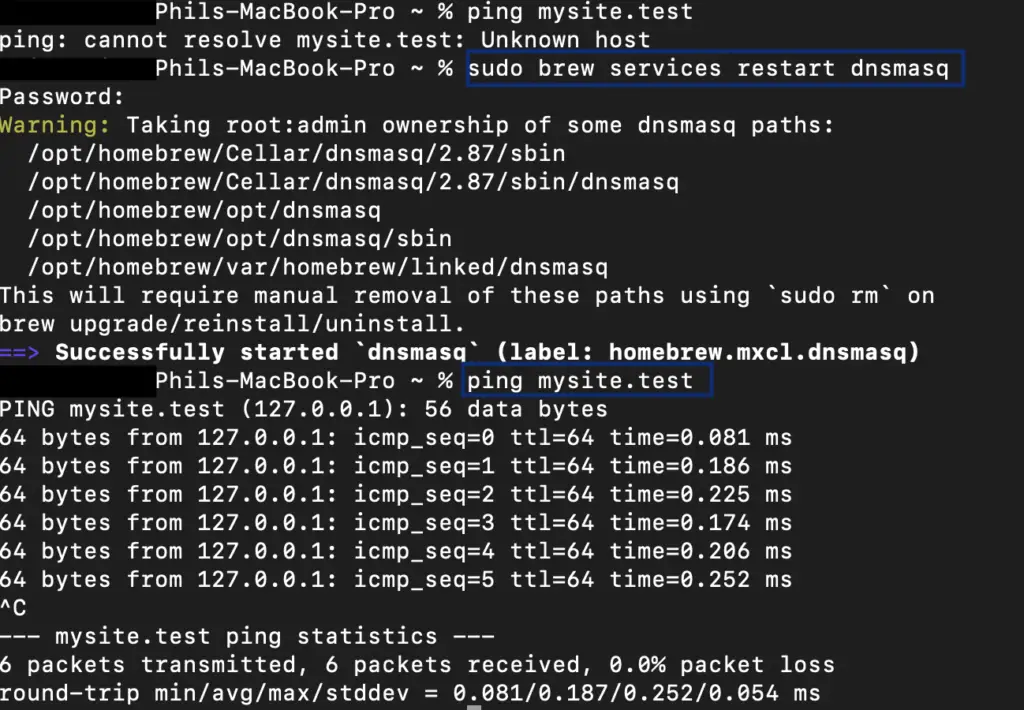
I found that after installing valet pinging any host on the .test TLD would fail to resolve, “ping: cannon resolve mysite.test: Unknown host”. The solution was to start the service once as root using sudo. After that dnsmasq resolved fine and continued to work after reboots.
sudo brew services start dnsmasq
You should now be able to ping any hostname on the .test TLS, and it should resolve to a localist address 127.0.0.1
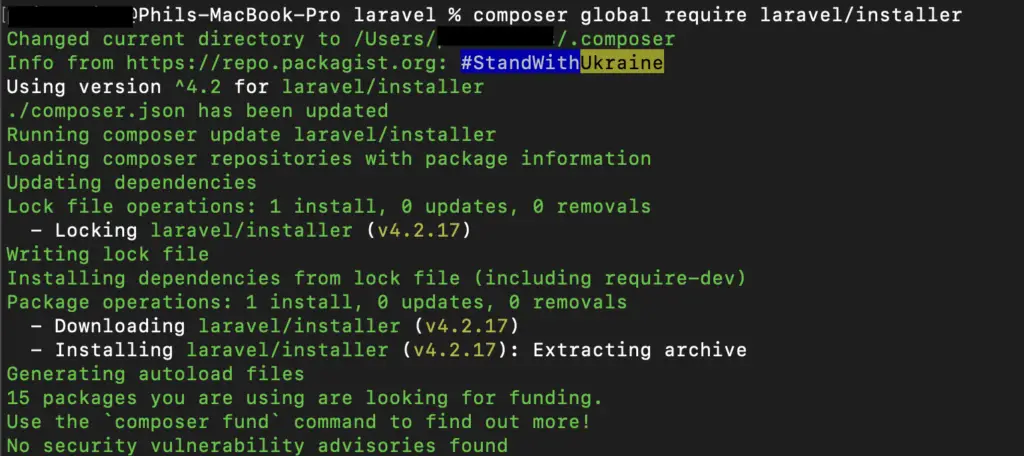
Step 6 – Installing laravel
composer global require laravel/installer
Step 7 – Creating and serving a site
You will need to create a directory to hold you site folder(s). You can either do this in Finder or within the terminal. I called my folder Sites and created it under Documents. But name and choose a location as appropriate.
Once you have created your directory, via a terminal you need to change directory (cd) into it and issue the command valet park
For example
cd Documents
mkdir Sites
cd Sites
valet park

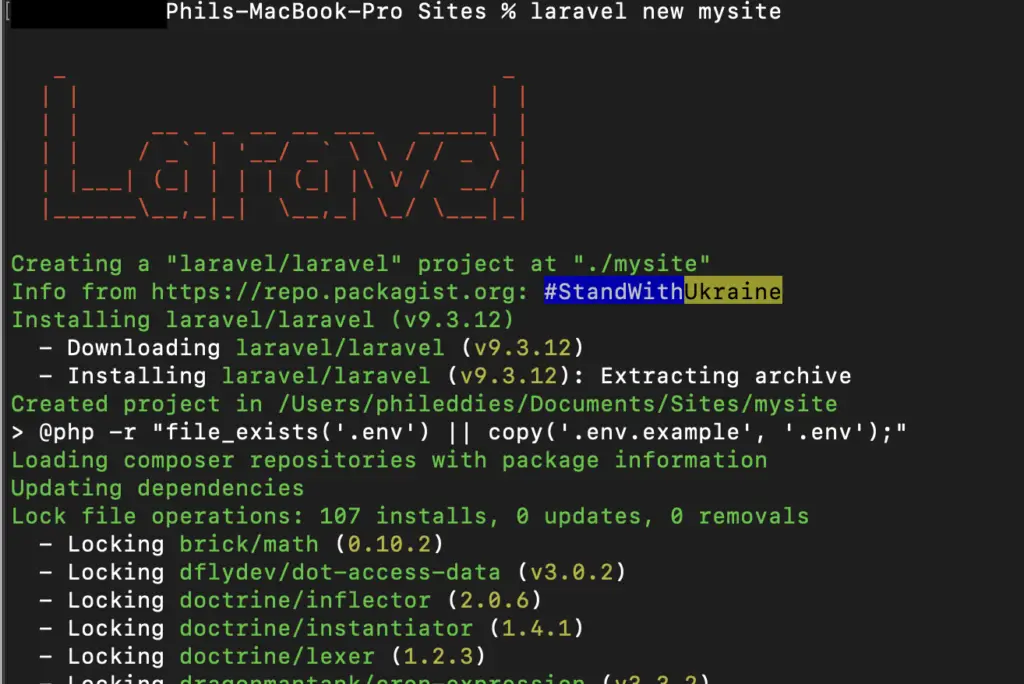
While still in our Sites folder we can create a new Laravel site, replace mysite with whatever you want to name the site.
laravel new mysite
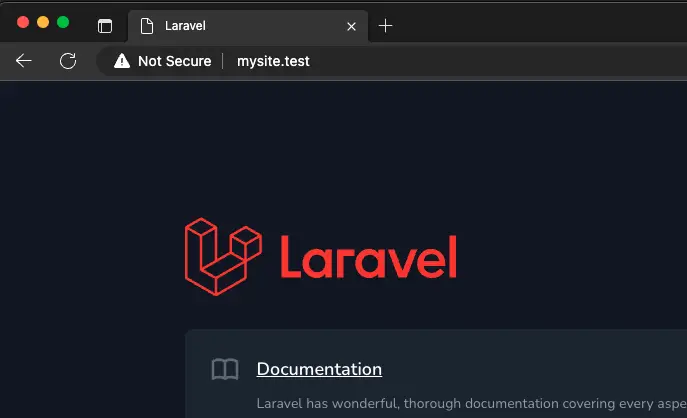
Step 8 – Start and Test
Finally run the bellow command to give all the components a restart
sudo valet restart

The URL will be http://<FolderName.test
Misc
You can run valet parked to get a list of all your current sites.
Laravel have some great documentation if you want to enable HTTPS or share your site Laravel Valet – Laravel – The PHP Framework For Web Artisans
Putting you work live
When you are ready to put you project live I highly recommend Cloudways for hosting Laravel sites. (Tools I Use). Also, if you need a domain name Namescheap is a great option!