I recently had the requirement to create a new Enterprise Application in my Azure Active Directory tenant. This was to get a third-party SaaS application to work with Single Sign-on for my users.
The provider of the SaaS application also supported passing additional SAML claims to define user’s permissions and other properties within their application.
The problem was I initially did not have any appropriate fields/attributes in my Azure AD to hold the data against my users.
I eventually settled on the solution I will document in this post, using extension properties and optional claims. What I like about this solution is the data stored against the user(s) is removed from your Azure AD tenant when you remove the associated Enterprise Application or remove the extension property. There are no permanent changes to Azure AD like you would have if you extended you on premise AD schema.
The data stored in the extension properties can optionally also be passed in SAML claims to third party applications using “optional claims”.
The result being you can store any custom data against you users in relation to an Enterprise Application. If required, you can pass this custom data onto third party applications.
Table of Contents
- Creating an Enterprise Application
- Connecting to Microsoft Graph
- Creating and managing Extension Properties
- Populating and managing users’ data for an extension property
- Passing extension properties as SAML claims
Creating an Enterprise Application
I won’t cover creating an enterprise application in the post. If you need assistance with this, check out this Microsoft knowledge base document https://docs.microsoft.com/en-us/azure/active-directory/manage-apps/add-application-portal
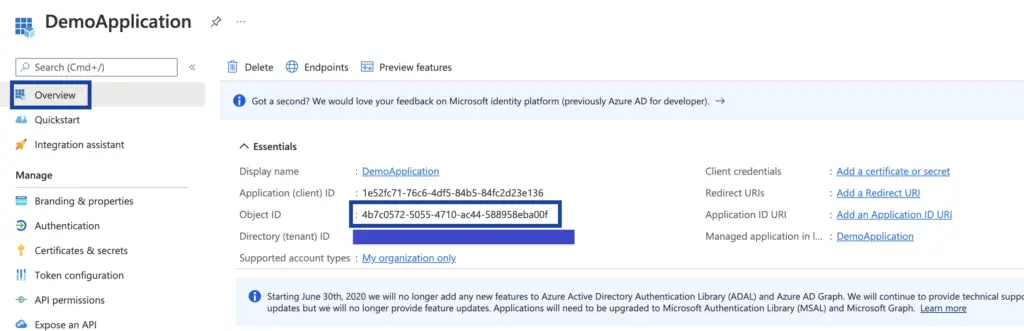
Once your application is created will need the “Object ID” for the application from the “App registration” section.
- From your Azure Active Directory under Manage click “App registrations”
- Select “All applications”, search for and select your application
- Copy and keep a note of the “Object ID”
Connecting to Microsoft Graph
From here on we will be using the Microsoft Graph API via PowerShell. I will be using the Cloud Shell in the Azure portal, but you can use your local PowerShell if you have the “Microsoft.Graph” modules installed
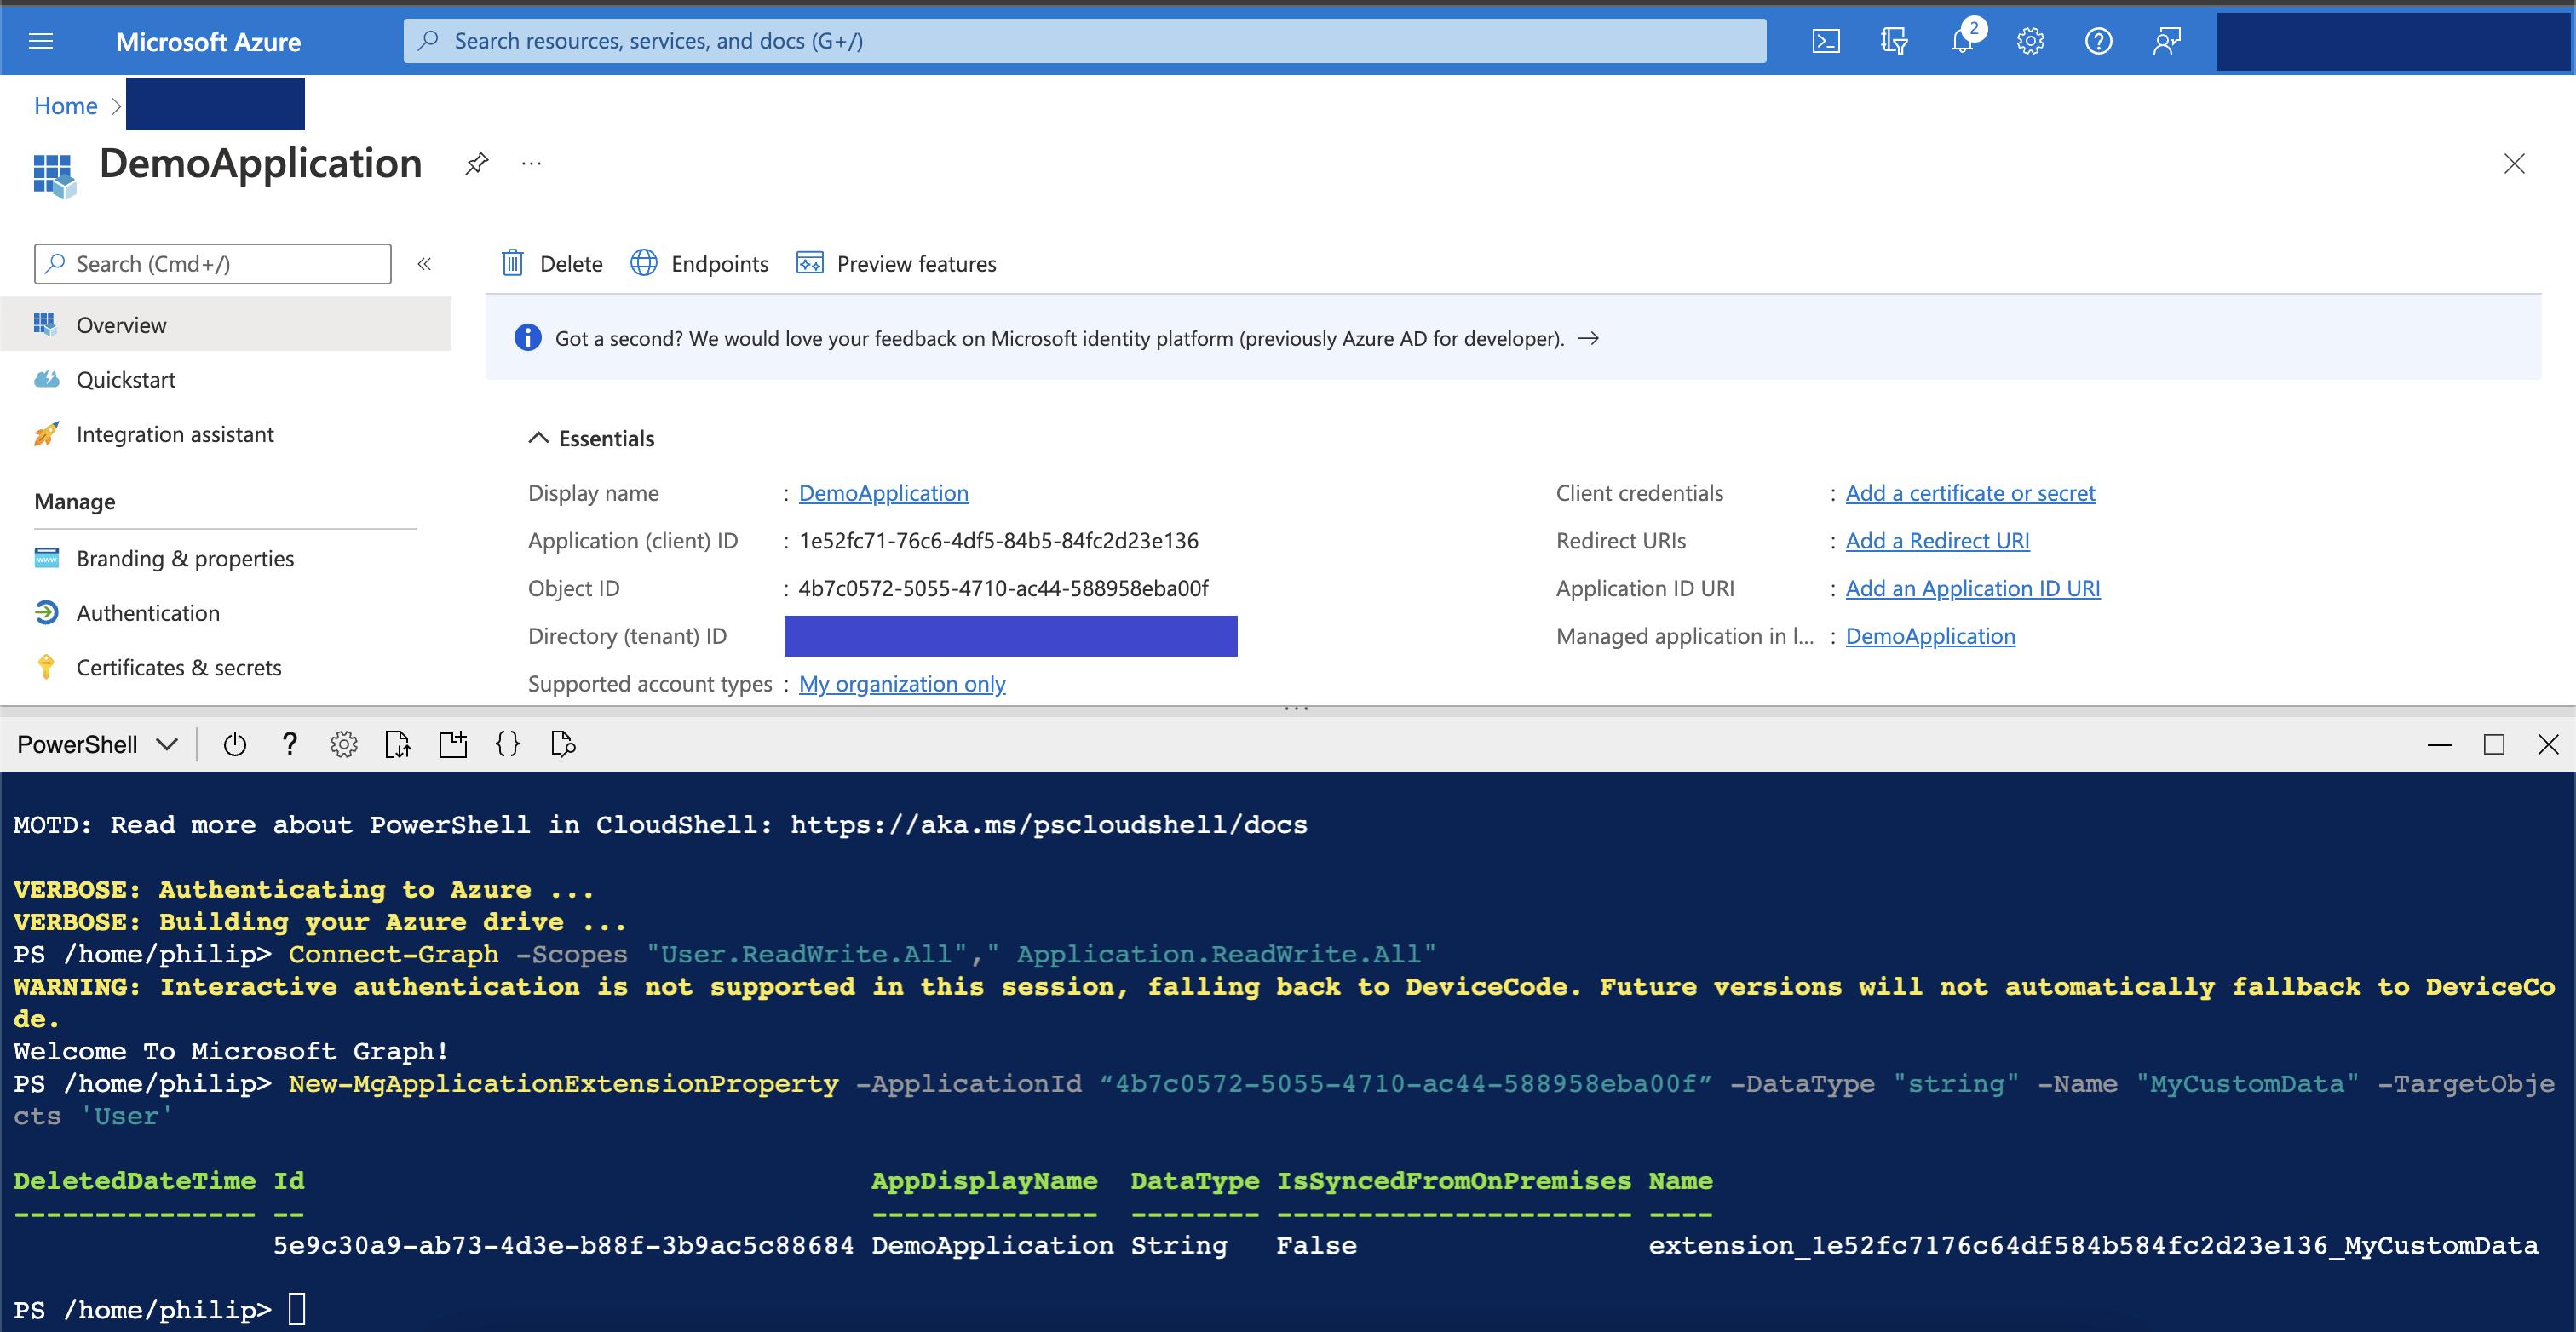
Open Cloud Shell or your local PowerShell and connect to the Graph API using
Connect-Graph -Scopes "User.ReadWrite.All"," Application.ReadWrite.All" -TenantId "<<your tenant id>> "
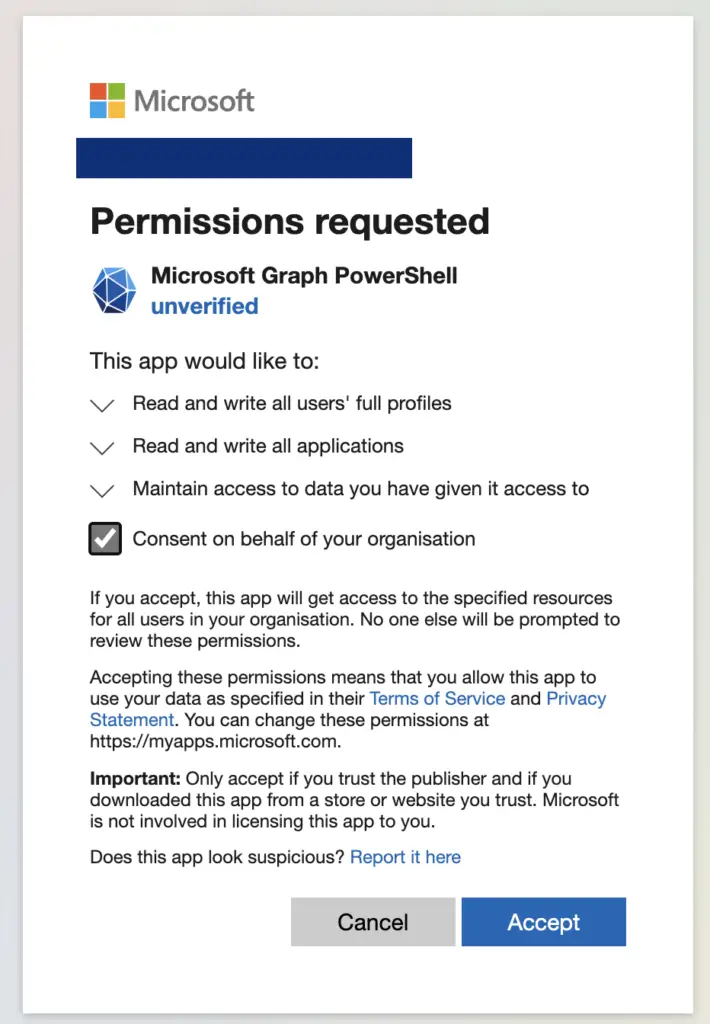
If you haven’t previously granted Microsoft Graph permission to write to your applications and users, you will be prompted and need to consent to the permission.
Creating and managing Extension Properties
Creating an Extension Property
Once connected use the below command to create an extension property, repeat the process for all the properties you need to create.
New-MgApplicationExtensionProperty -ApplicationId “<ObjectId>” -DataType "string" -Name "<Name of your property>" -TargetObjects 'User'
- -ApplicationId is the previously copied ObjectId for the application
- -Name is what you want to name the property
More info: New-MgApplicationExtensionProperty (Microsoft.Graph.Applications) | Microsoft Docs
How to get a list of Extension Properties created against an application
Get-MgApplicationExtensionProperty -ApplicationId “<Application ObjectId>"

How to delete an Extension Property from an application
Remove-MgApplicationExtensionProperty -ApplicationId "<Application ObjectId" -ExtensionPropertyId "<Property ID>"

Populating and managing users’ data for an extension property
Populating extension data for a user
When you created your extension property it will have been assigned a name in the format “extension_<application object id>_<your chosen name>”. You will need this name to populate data for a user.
Update-mguser -UserId “<username>” -AdditionalProperties @{'<extension name>' = "<Data you want to set for the user>" }

Getting the data set for a property against a user
$myusr = Get-MgUser -UserId “<user name>” -property "<extension name>”
$myusr.AdditionalProperties. <extension name>

Using Graph Explorer is also an effortless way to see all extension properties set against a user. At the time of writing, you will need to switch to the beta API. Set the endpoint url to https://graph.microsoft.com/beta/users/<user name>

Passing extension properties as SAML claims
If required, it is possible to pass a user’s data for an extension property as part of their SSO SAML claims. This is accomplished by configuring them as optional claims
- From your Azure Active Directory under Manage click “App registrations”
- Select “All applications”, search for and select your application
- Under Manage click “Token configuration”
- Click “Add Option Claim”
- Click SAML, select your extension property and click Add
