Apple recently released their iCloud+ service which introduced Private Relay, Hide My Email, and Custom Email Domains, as well as an unlimited storage limit for video from cameras added through HomeKit Secure Video.
The service is a free upgrade. Anyone with an iCloud subscription will now have access to these great premium features in addition to what iCloud has always offered.
In this post I will be covering the custom email domain feature, this will allow you to add emails addresses for domains you own into your iCloud mailbox. A feature Gmail and many others have had for some time, so it is a welcome addition with Apple iCloud Plus.
Table of Contents
- Why use a custom domain?
- Will I keep my icloud.com address?
- Can I add more than one?
- Catch-22
- How to add a custom email domain
- Sending from your custom email address
- Organising your mails
Why use a custom domain?
Apple iCloud is a great email service and given Apple’s attitude towards the privacy of its customer data, it is a good choice if you are using Apple products.
However, there are times when having an @icloud.com email address is not enough. Maybe you run a business or a website and want to have an email address such as [email protected] that you can send and receive from. Or maybe you want your emails domain to be your family name or something just a little more distinctive.
In addition to being able to send and receive emails with your custom domain name on any of your Apple devices and iCloud.com. You will also be able to use your custom domains for Apple services such as receiving iMessage and FaceTime. Pretty cool!
Will I keep my icloud.com address?
Yes. Any custom email address or addresses will be in addition to your @icloud.com address they won’t replace it. You will be able to select which email address you want to be your default address for sending out.
Can I add more than one?
Absolutely! Apple will allow you to add up to five custom domains and you can add up to three email addresses on each.
Catch-22
One thing that is a little annoying is Apple will send a verification email to the custom email address you are setting up. If you don’t already have an email setup for this domain and/or email address you will have no way of receiving the verification email. I would have personally preferred if they had given an alternative verification method such as adding a TXT record to the domain.
But there are ways around it if you don’t already have a method of receiving email at this address.
Lots of domain registrars and hosting providers will let you add email forwarding rules for free, so you could check with your domain name registrar. Or https://improvmx.com/ have a free plan for one domain. You can temp point you mail DNS records to them and set up a mail forwarding rule so you can receive the Apple verification email.
How to add a custom email domain
First of all, you will need to own the custom domain, if you haven’t already registered one check out Namecheap for great value for money.
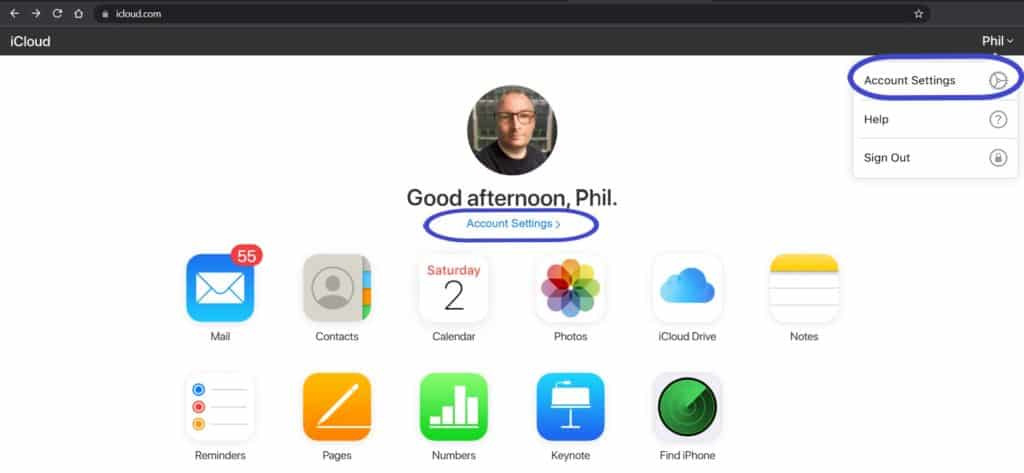
- Sign into your iCloud account at https://www.icloud.com and click Account Settings either in the middle of the screen or under your profile picture in the top-right
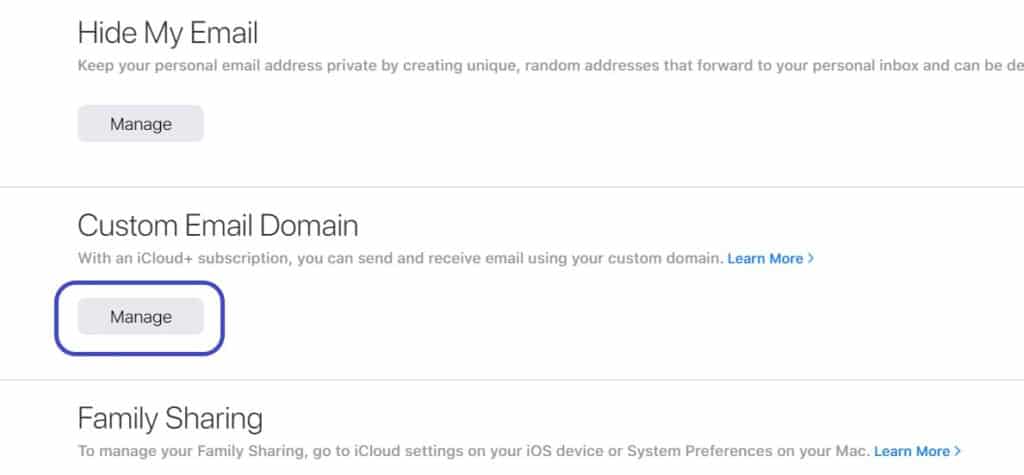
- Towards the bottom click Manage under Custom Email Domain
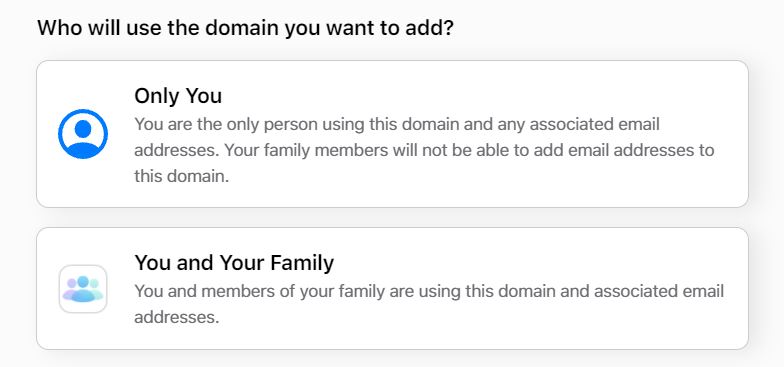
- If you are using an iCloud account with Family Sharing you can choose to share the custom email domain with your family, so they can each have an email address on the custom domain. Or you are can select that the domain is only for your use.
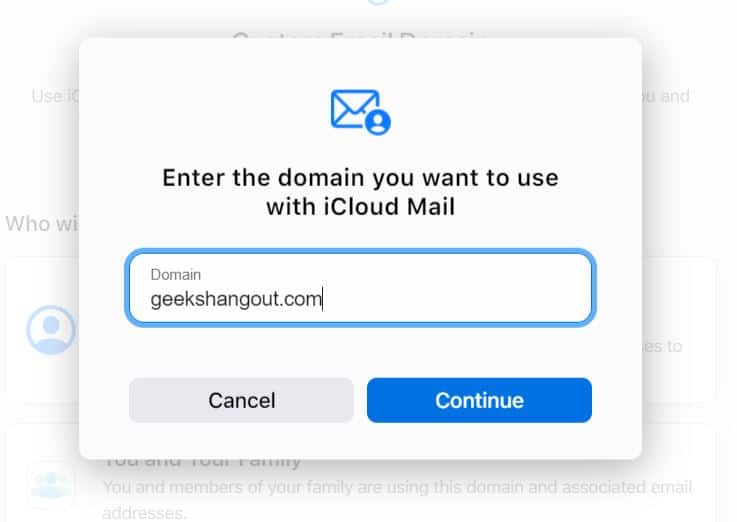
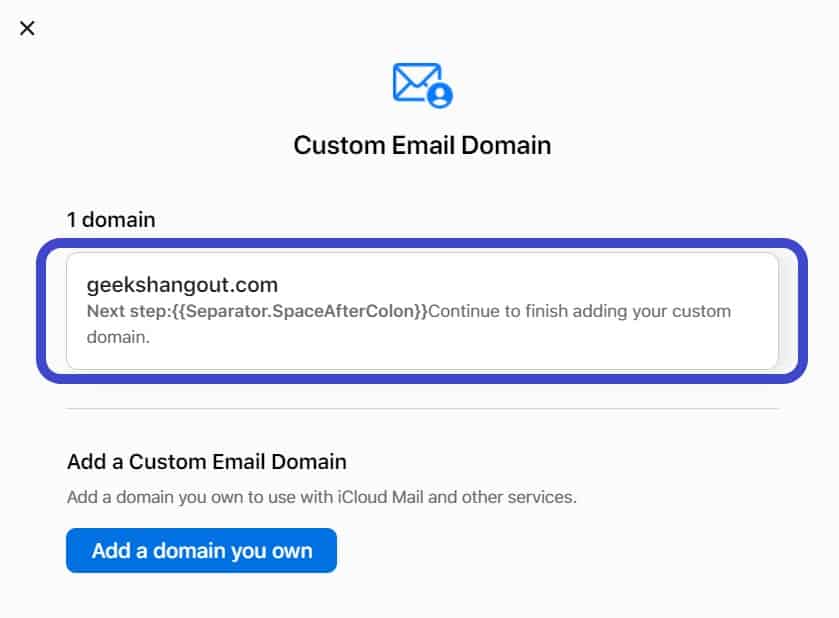
- Enter the custom domain name you own and press Continue
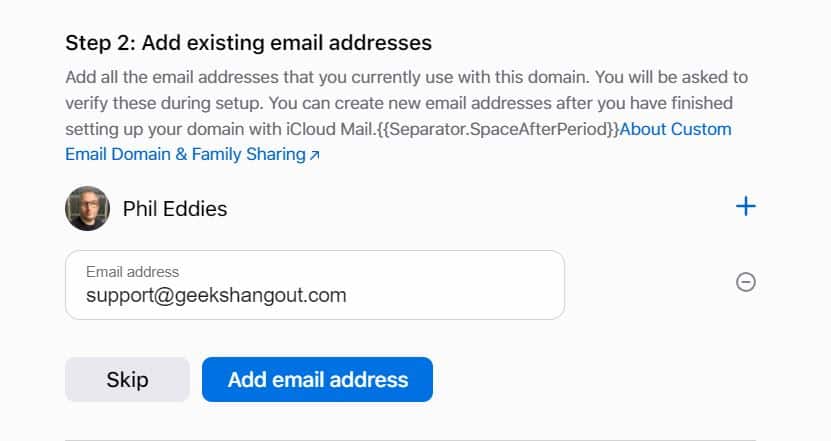
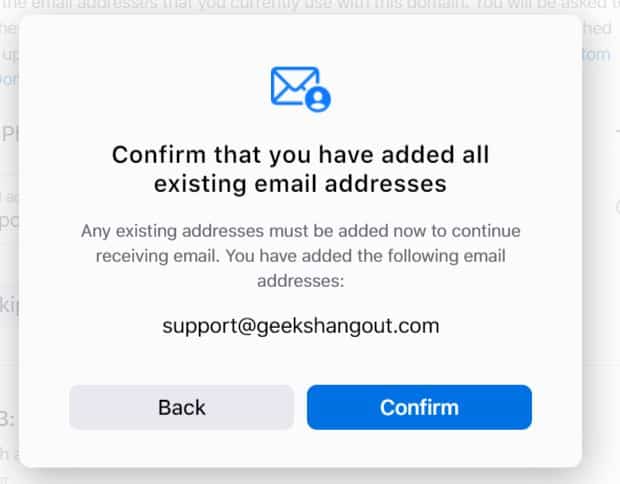
- Next you can add the email address or addresses you want for the custom domain. Use the plus icon to add more, you can up to three. Once done click “Add email address”, Confirm and OK
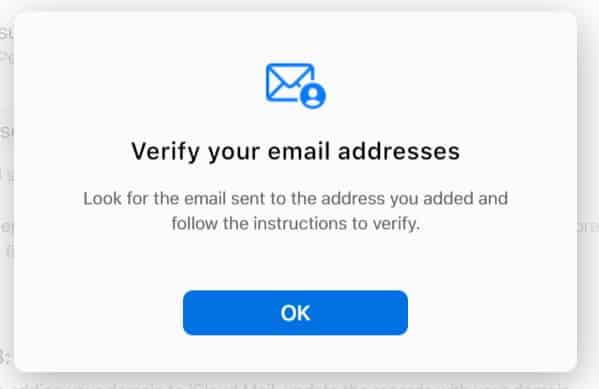
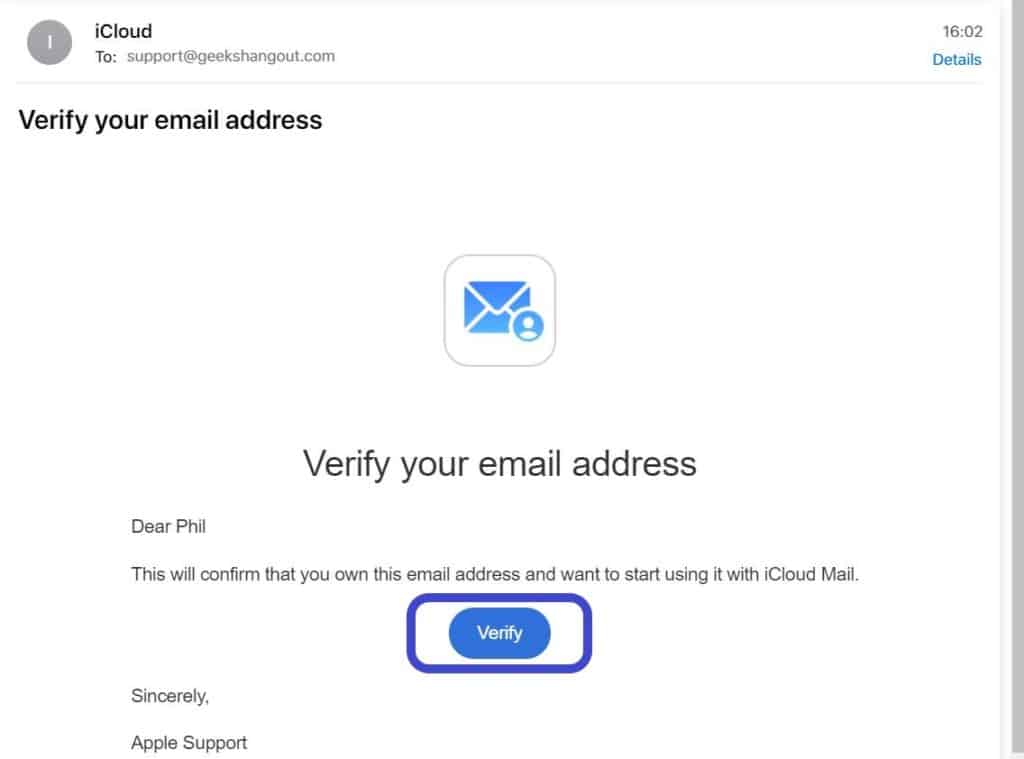
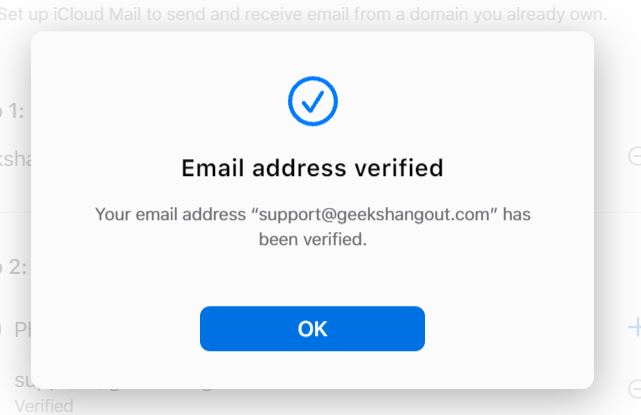
- You now need to click the Verify button on the email you receive. Check out the about Catch-22 section if you haven’t received anything!
- Now you will need to some DNS records to your domain.
- If you are not sure how to do this you may need some help from your domain name registrar.
- Apple have also put together a page with a little more information at https://support.apple.com/en-gb/HT212524
- There are two TXT records, two MX records and a CNAME record to Add.
- Full current details will be in the “Finish setting up your custom domain” you receive from Apple
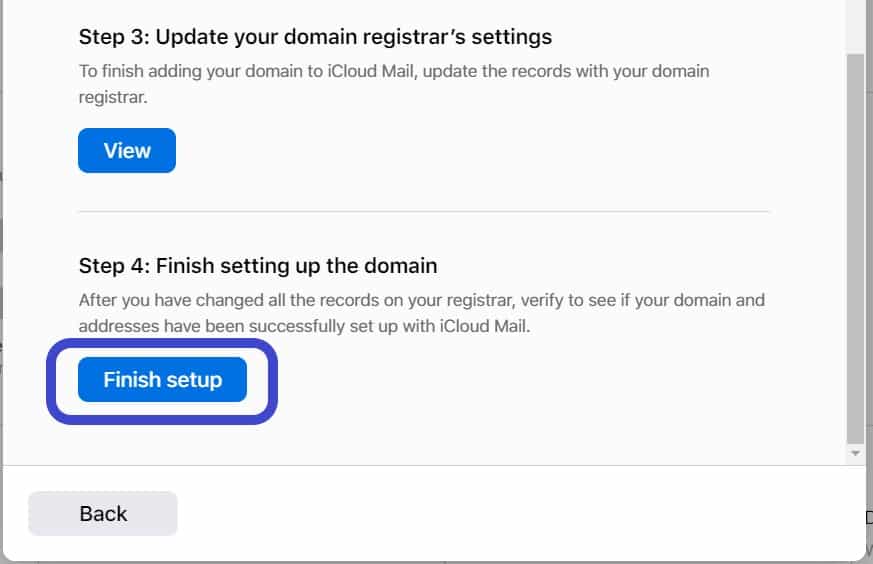
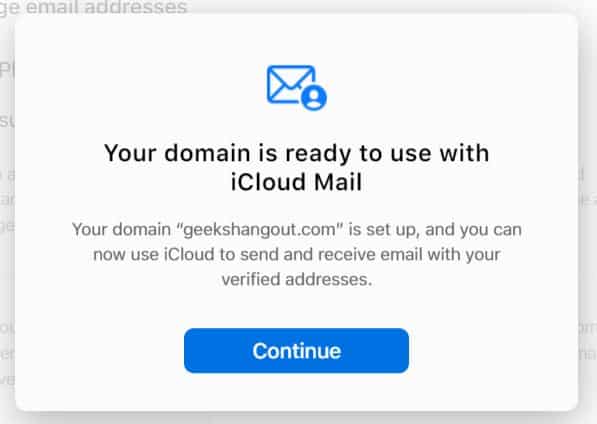
- Once you have added the requested records head back to Account Settings in iCloud and back to the Manage custom domains section. Click your custom domain to complete the setup
- Under Step 4 click Finish Setup
- Click Confirm to confirm you have made the DNS changes Apple requested
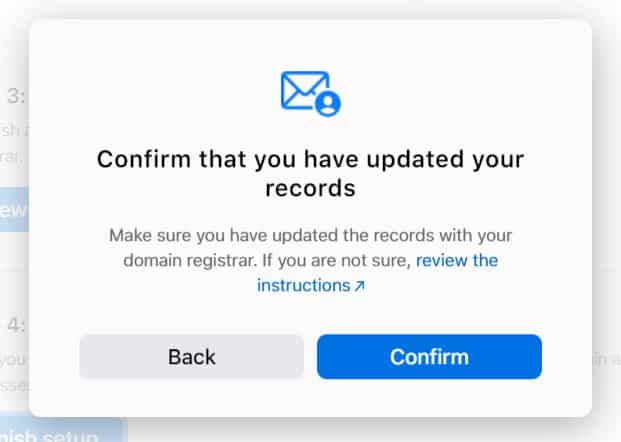
- Click Continue
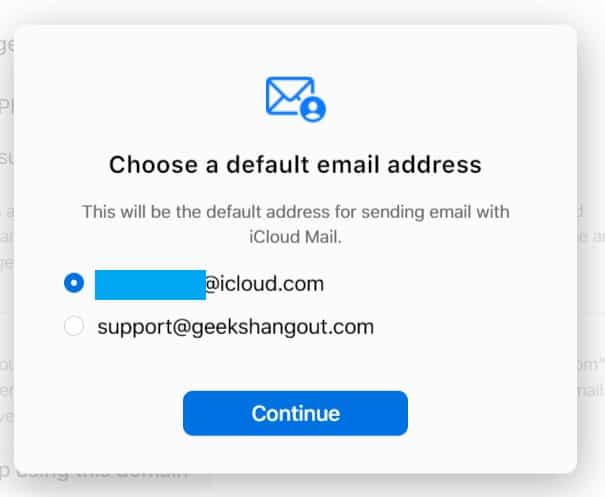
- Select which of your email addresses you want to be your default. You will be able the send and receive from all (more on that later). Click Continue followed by Done
Note: On your Apple devices you may get a notification asking if you would like to use your customer email address for iMessage and Facetime.
Sending from your custom email address
If you left your default email address as your @icloud.com email address you may be wondering how do you actually send from your custom address.
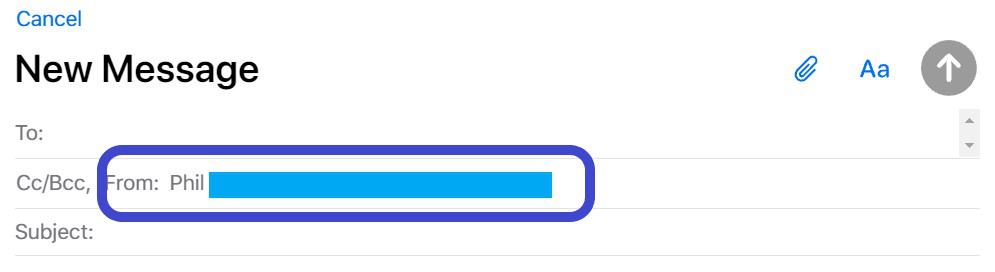
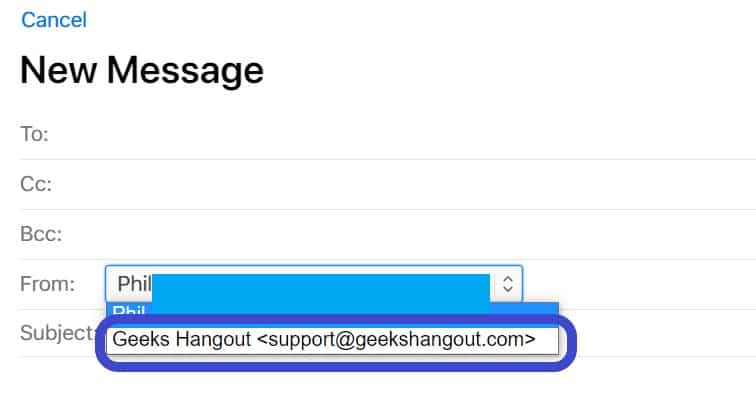
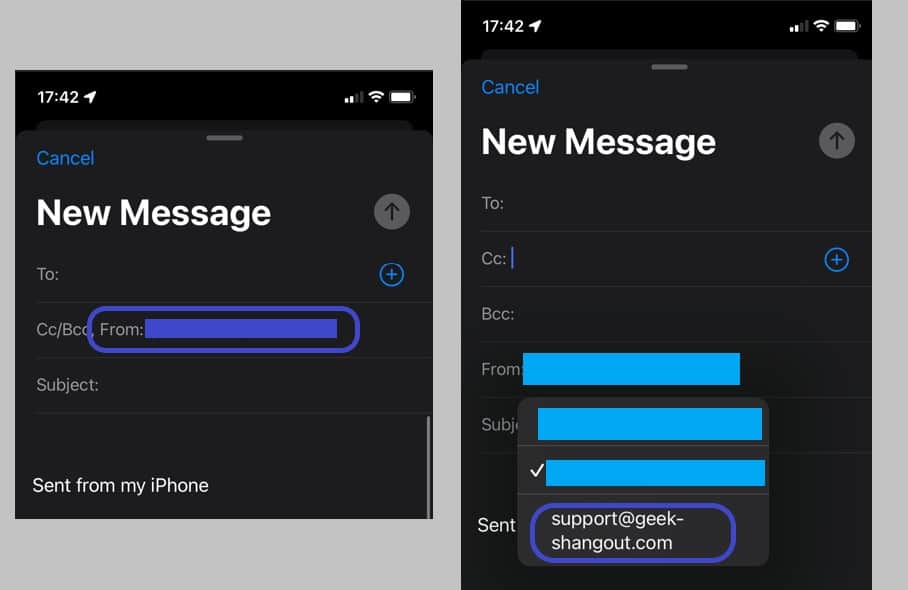
- When creating a new mail from icloud.com or from your iPhone / iPad click the From address
- Change the selection to the address you want to send from
iCloud.com Mail
iOS Mail
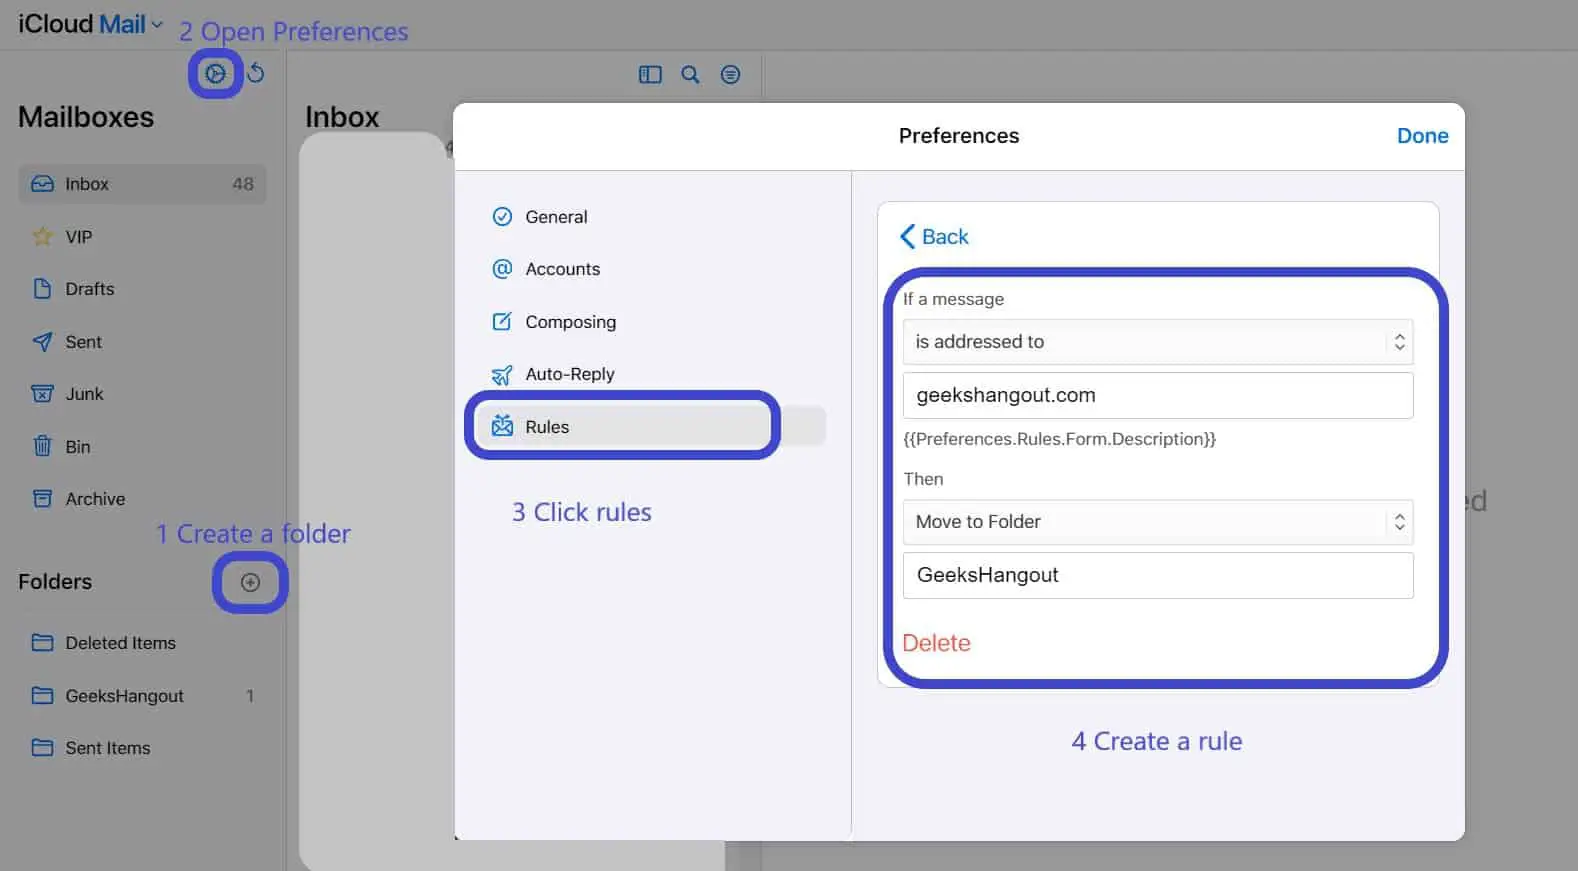
Organising your mails
You may want to create a folder and a mailbox rule so emails to your custom address are moved into a folder rather than going into the main inbox.
How did you manage to change the display name for your alias? i.e. “Geek Hangouts” for [email protected]
Thanks!
Hi,
In iCloud Preference => Accounts you need to set the Full Name.
Hope that helps?
Thanks
Phil